
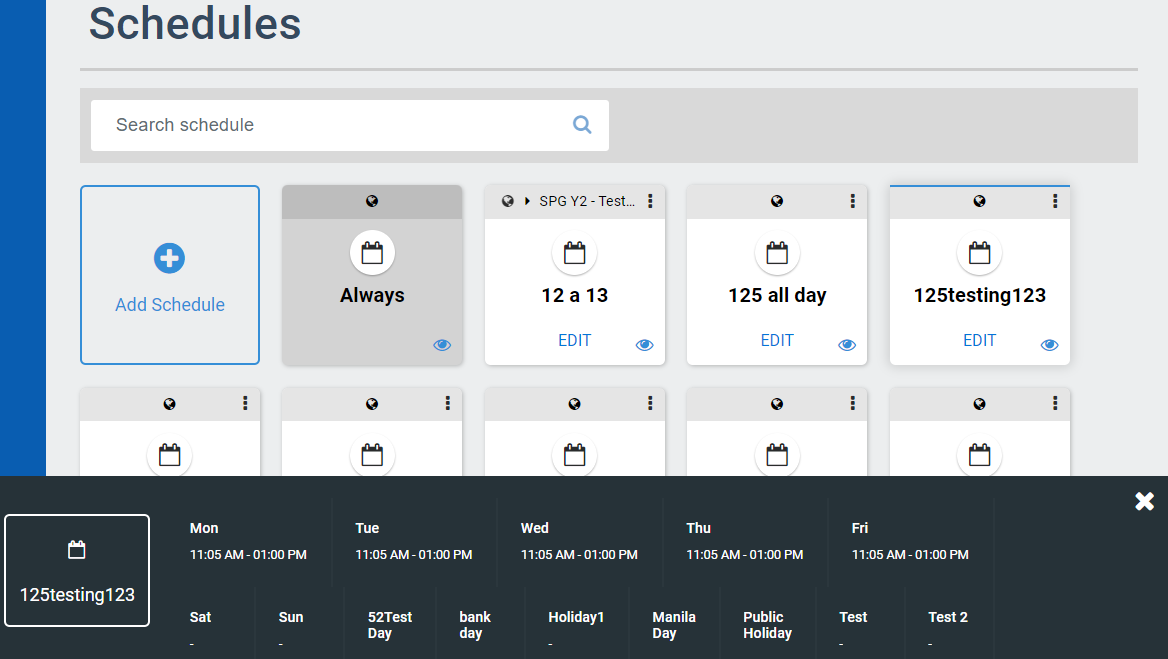
Schedule Navigation
-
Search bar – Enables you to search for specific Schedules using their name. The search bar automatically starts searching after typing at least four characters.
-
Add Schedule panel – Enables you to add new Schedule in ARCO. The next section will discuss the full details about adding Schedules.
-
Schedule Panel – Displays the available Schedules in the system. The Always panel is available by default.
-
Edit – Update the information on the selected Schedules.
-
Preview – Click to display the details of the selected Schedule at the bottom of the screen.
-
Preview Display – The details of the Schedule.
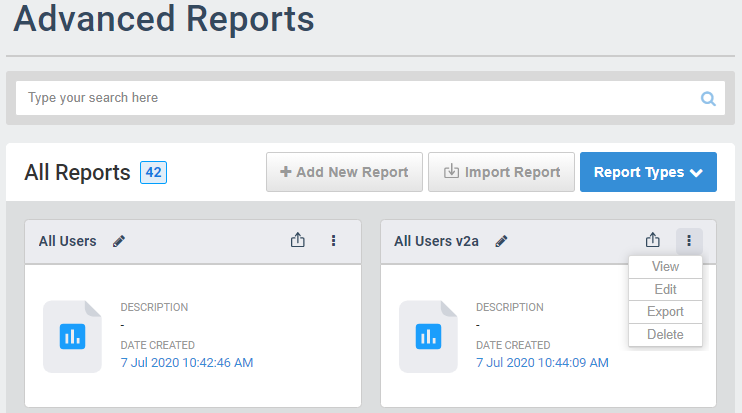
Advanced Reports Navigation
-
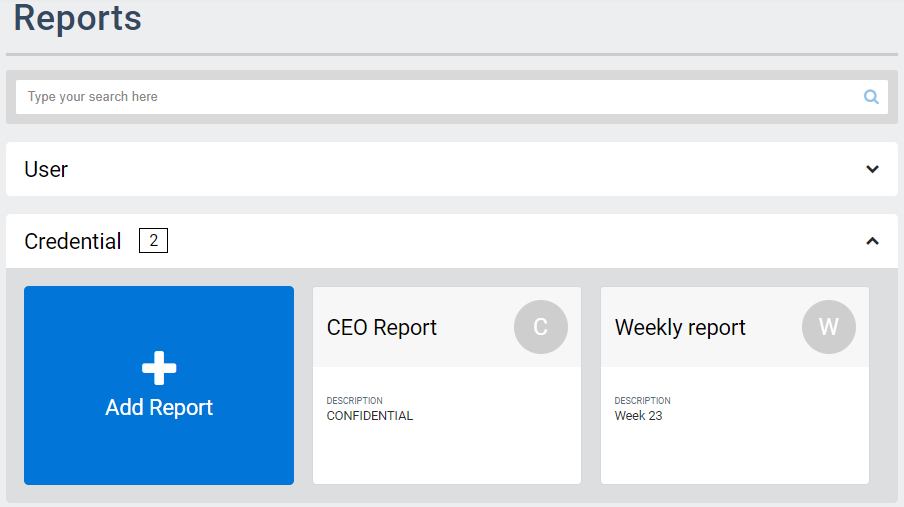
Search bar – Enables you to search for specific Reports by their name.
-
Add Report – Enables you to add new Reports in ARCO. The next section will discuss the full details about adding Reports.
-
Import Reports – Enables you to upload a report file.
-
Report filter – Click to open and close panels for each Report type available.
-
Report Panel – Displays the details of the Report. Click on a panel to view a report.
-> Rename – Click the pen to edit the name of the report
-> Export – Click the arrow to download the report (repx) file. -
Report Options – Displays the details of the Report. Click to view the information.
-> View – Display the Report.
-> Edit – Modify the Report parameters.
-> Export– Download the report (repx) file.
-> Delete – Remove the report panel.
Add Report
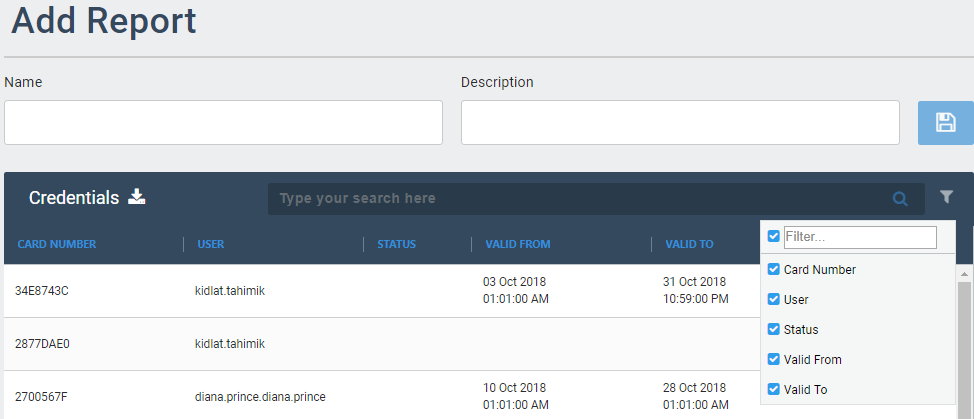
-
Name – Unique name of the report.
-
Description – Short information about the report.
-
Save button – Click to save the report.
-
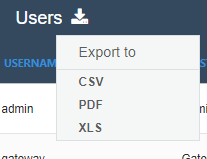
Export –Download the displayed report in different file formats: CSV, PDF or XLS.
-
Column header – Displays the data types on the current report
-
Search Bar – Enables you to search for specific data.
-
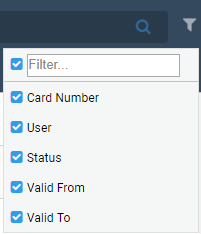
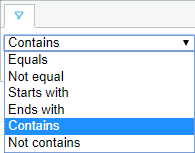
Search Filter – Enables you to specify the data types to be displayed.
Report Navigation
-
Search bar – Enables you to search for specific Reports by their name.
-
Report filter – Click to open and close panels for each Report type available.
-
Add Report panel – Enables you to add new Reports in ARCO. The next section will discuss the full details about adding Reports.
-
Report Panel – Displays the details of the Report. Click to view the information.
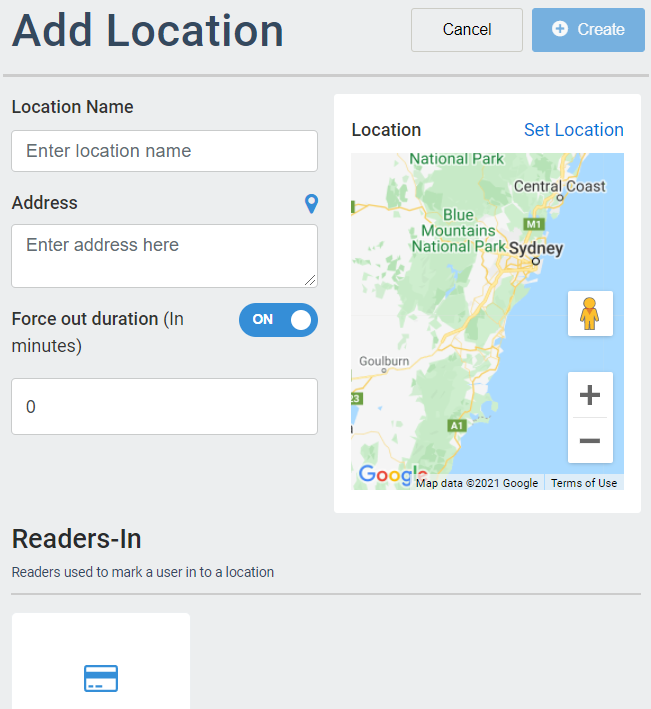
Location Information
-
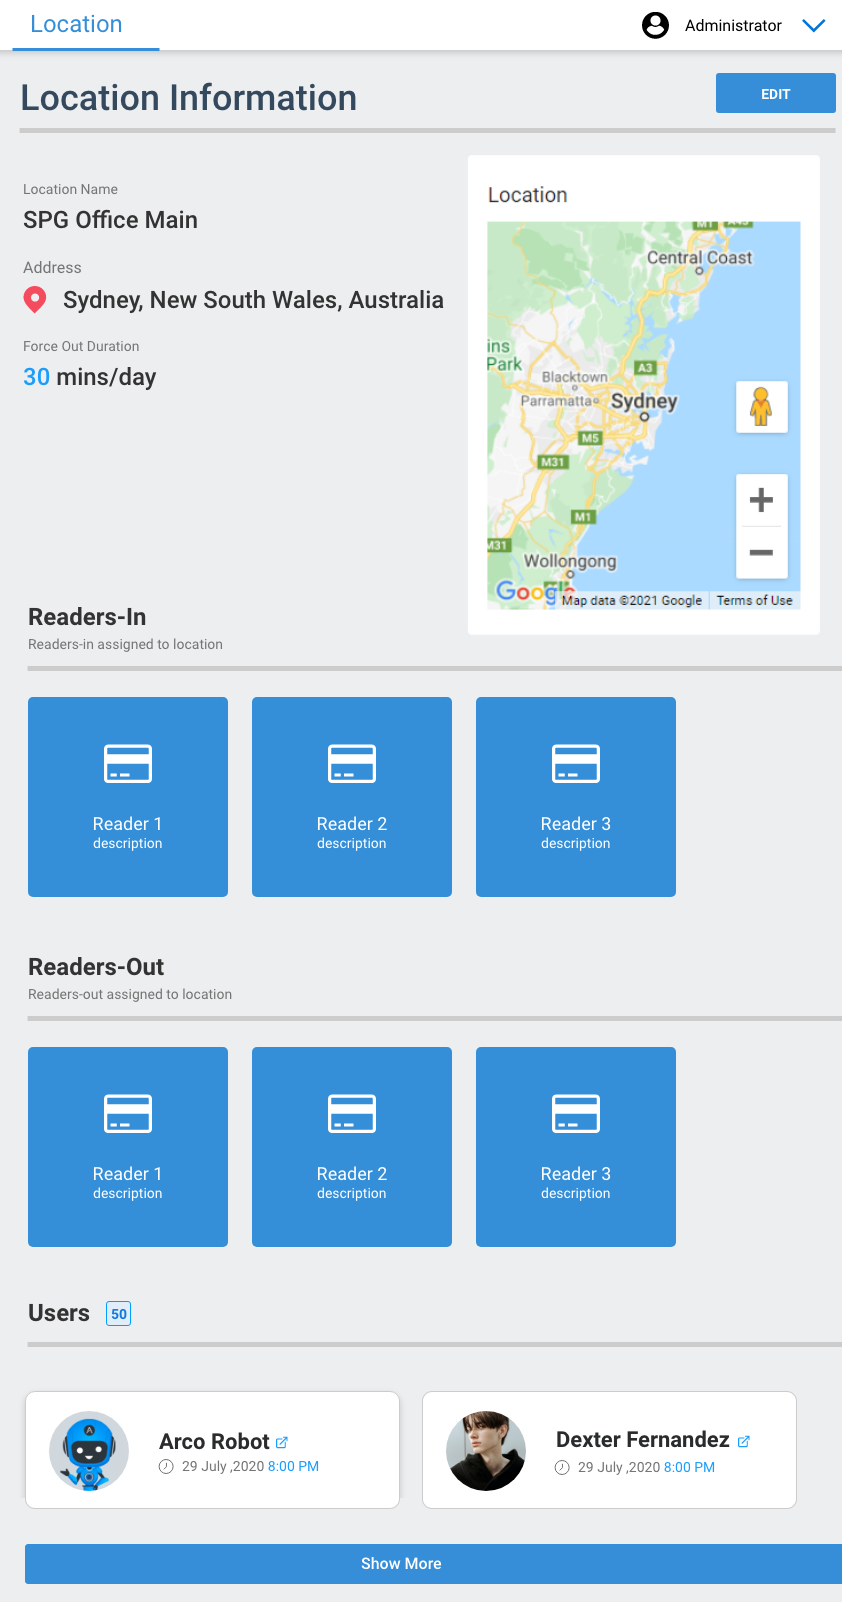
Edit button – Enables you to edit a Location in ARCO.
-
Location Information – Details about the location.
-
Map – Displays the google map details of the Location.
-
Readers-In – In Readers assigned to the Location.
-
Readers-Out – Out Readers assigned to the Location.
-
Users – List of users currently in the Location.
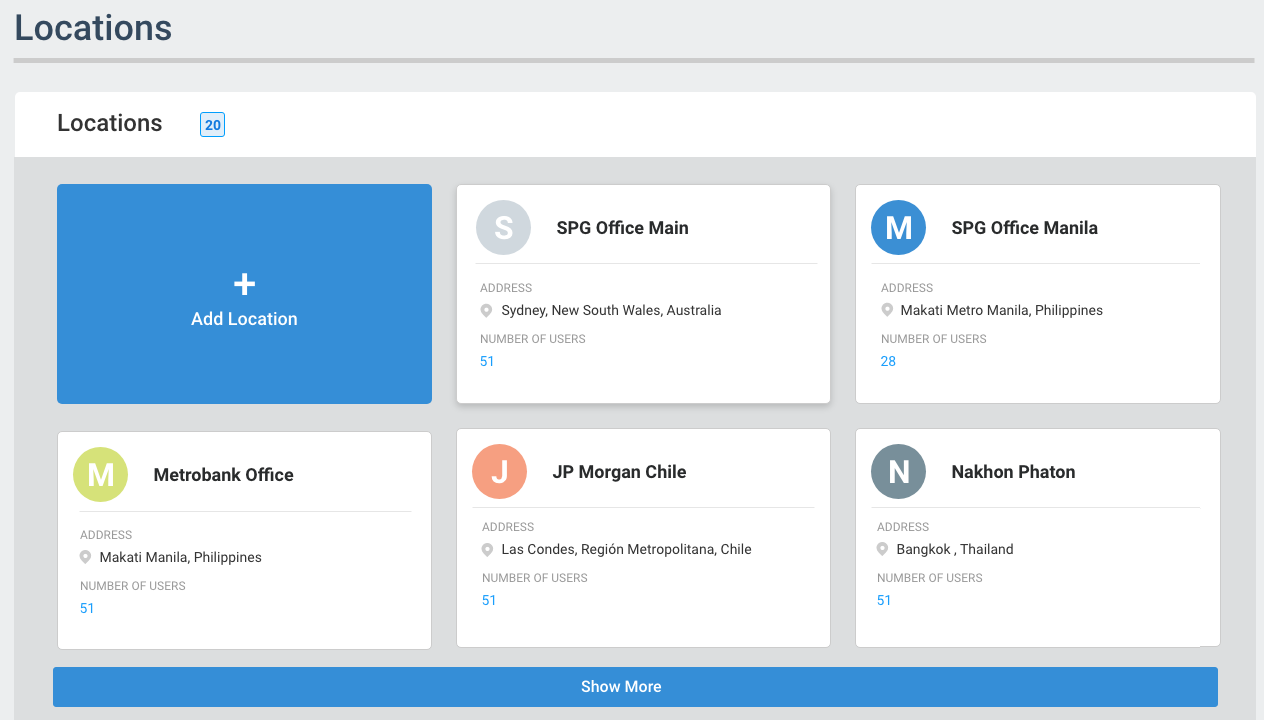
Location Management
-
Location Count – Number of Locations currently in the system.
-
Add Location button – Enables you to add a new Location in ARCO. The next section will discuss the full details about adding sites.
-
Card Panel – Displays the details of the Location. Click to view Location information.
-
Show More – Click to display more Locations.
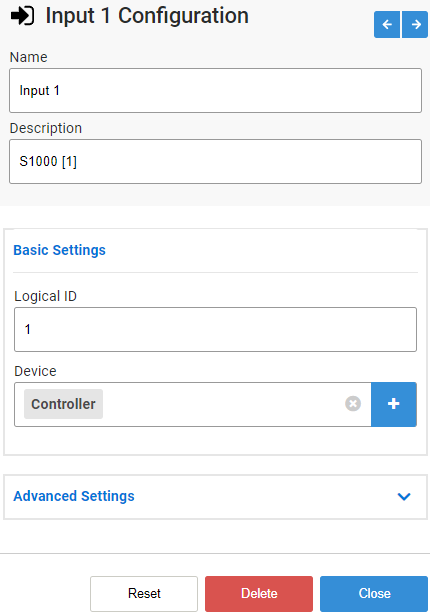
Device Configuration
-
Device Navigation – Enables you quickly switch to a different device on the same panel.
-
Data Fields – Configuration options for the specific device.
-
Control Buttons– Click to perform actions.
-> Reset – Roll back the device panel to the previous configuration.
-> Delete – Removes the device panel from the profile.
-> Close – Close the panel and save the updated configuration.