Add Access Role
Access Roles are for the users that perform their job function within a physical location and generally have no access to the ARCO Platform. The role grants access to the project sites, area access and door entry.
1
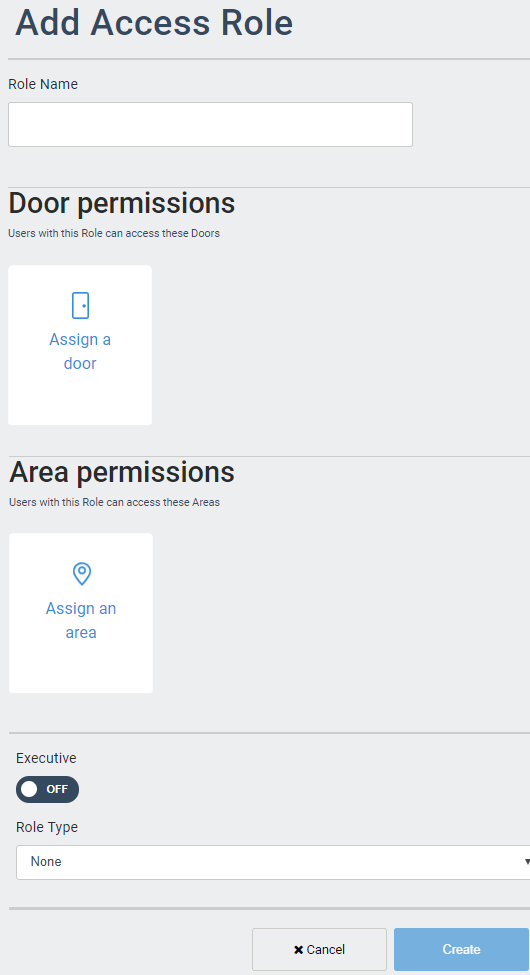
Click the Add Access Role link on the Navigation Panel or click the Add Access Role panel that will take you to the Add Access Role page.
2
Enter the following required information:
Role Name – Needs to be unique to each Role. Requires alphanumeric characters with no spaces and a maximum length of 255.
Tags – Metadata for searching and reporting.
Door Permissions – Assign the doors the role is permitted to enter. Please refer to the Door Permissions section for more details.
Area Permissions – Assign the Areas the role is permitted to enter. Please refer to the Area Permissions section for more details.
Supervisor – Toggle ON or OFF
Bluetooth User – Toggle ON or OFF
Executive – Toggle ON or OFF
Access Role Type – Select from the drop-down menu. Please refer to the Access Role Type section for more details.
3
Click the Create button when you have completed all the required information.
4
You will be taken back to the Roles page.
Door permissions
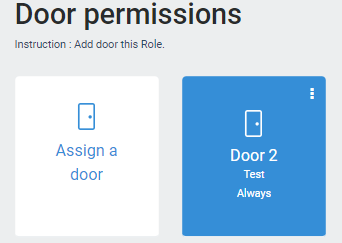
ARCO enables you to grant roles access to specific Doors connected to controllers.
You can configure doors at the Hardware module.
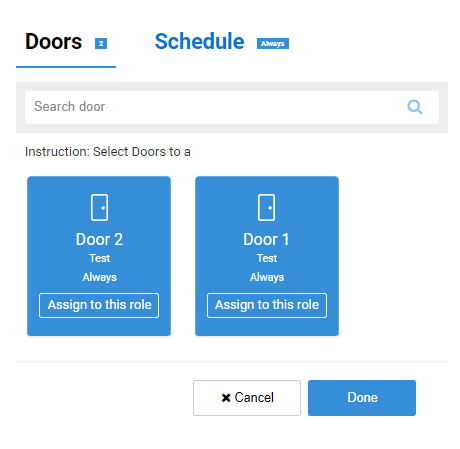
Assign a door
2
3
Optional: Go to the Schedule tab and click Select on the panel.
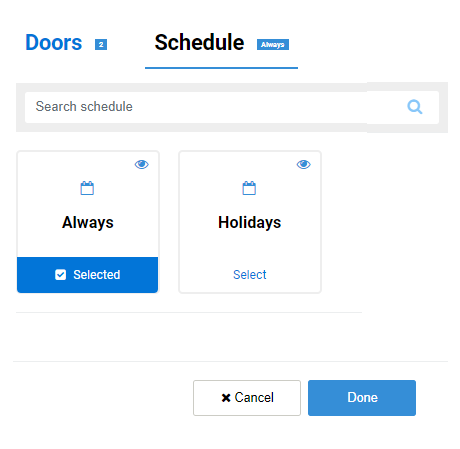
4
Click the Done button.
5
The selected doors are now assigned to the Role.
Area Permissions
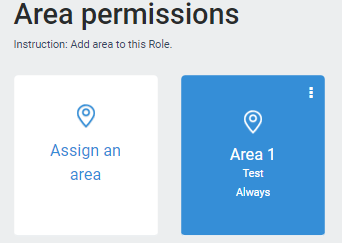
ARCO enables you to grant roles access to specific Areas connected to controllers.
You can configure Areas at the Hardware module.
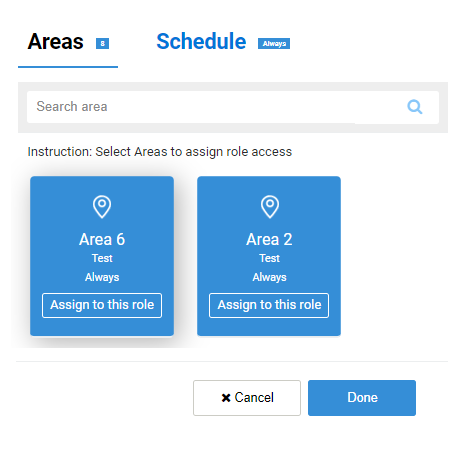
Assign an area
2
3
Optional: Go to the Schedule tab and click Select on the panel.
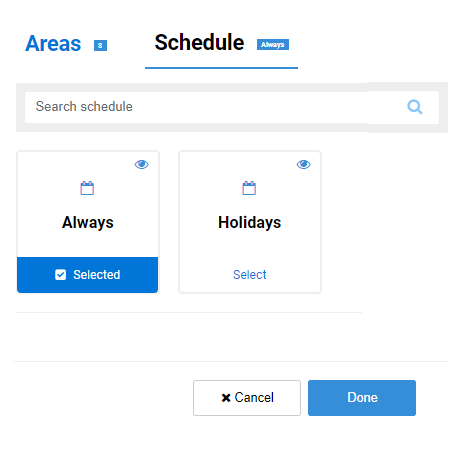
4
Click the Done button.
5
The selected areas are now assigned to the Role.
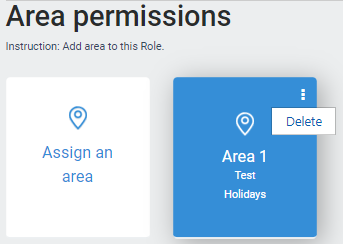
Click on the dots and press Delete.

